Install and Setup Jitsi on Windows
Download and Install
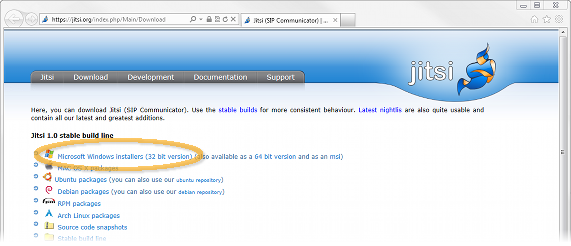
- Visit the Jitsi Download page
- Click on the “Microsoft Windows Installers (32-bit version).” If you know that you have 64-bit Windows you can click on the “64-bit version” instead.
- Start the process by clicking “Run”
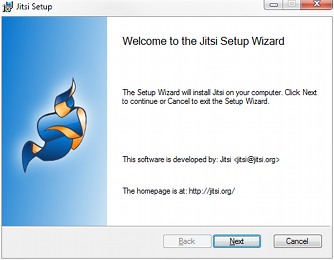
- When the installer starts it takes a moment to check for available space and then shows the welcome screen. Click “Next” to continue
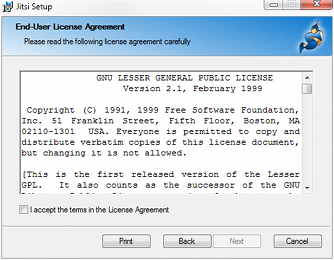
- Check “I accept the terms in the License Agreement” and click “Next”
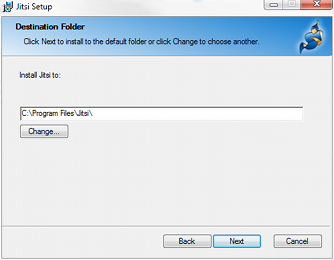
- Click “Next” to continue
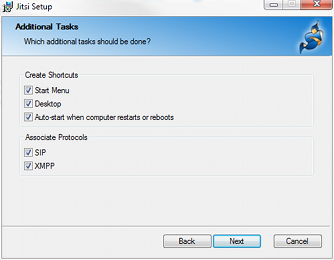
- Create Shortcuts: Leave the items checked to create shortcuts to Jitsi in the Start Menu and on the Desktop. You can also choose to have Jitsi start automatically when you log in. Associate Protocols: Leave “SIP” and “XMPP” checked in order to let Jitsi take calls and chat sessions when you click on special web links. You may be familiar with links for web pages that start with
http://. Any links that start withsip:orxmpp:will open in Jitsi. Click “Next” to continue.
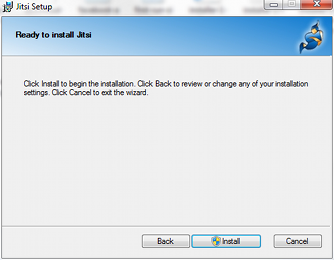
- Click “Install”. Windows may display a warning to let you know that software is being installed. Press “Yes” to continue.
- The installation takes a few minutes, but eventually it lets you know that it completed the installation. Click “Finish”
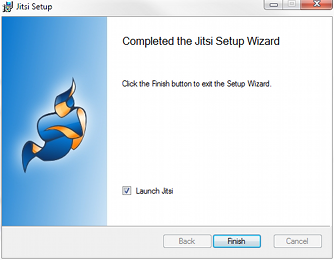
- Jitsi will launch automatically. But to open it in the future, double click on the Jitsi shortcut on the desktop

First Use
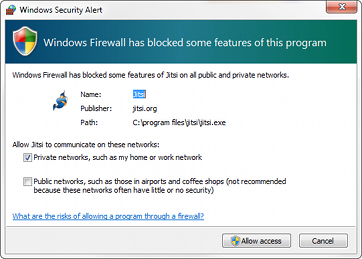
- The first time you run Jitsi, you may get a warning from your firewall. If you click “Cancel” Jitsi can still communicate through public servers such as Google Chat, Facebook, and Yahoo Messenger. However, clicking “Allow access” enables an advanced feature known as registrarless SIP accounts
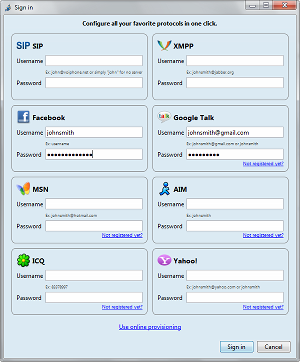
- Jitsi lets you log into several chat accounts at once. Fill out the username and password for the accounts you already have. If you don’t have any accounts with the providers listed, create a new account by clicking on one of the “Not registered yet” links.
After filling in the username and and passwords for the accounts you want to use, click “Sign in.”
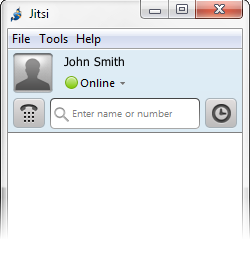
- Wait a moment for Jitsi to connect. When the status changes to “Online”, you are ready to chat!
- If you sign in to Facebook, you may have an extra step. See Set up Facebook Chat, “Troubleshooting”