How to configure IntelliJ IDEA 12 to compile and debug Jitsi
Getting the sources
IntelliJ IDEA is a premier IDE for Java, Groovy and other programming languages. It has a community edition which is free and open source.
If you start Idea for the first time, you will be presented with the following dialog, where you must click “Check out from Version Control” and then select “GitHub”.
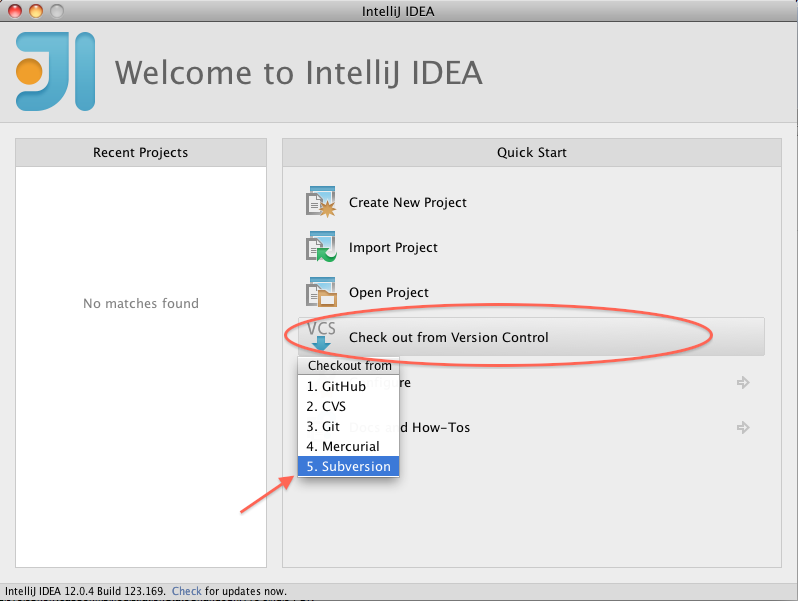
If you have created other projects in the past, Idea may not show this wizard upon start. In that case, from Idea’s main menu you must select VCS > Checkout from Version Control > GitHub.
In both cases you get a window like this one:
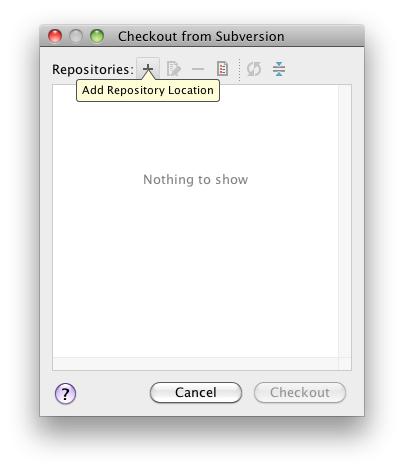
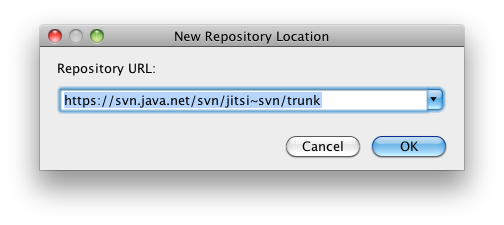
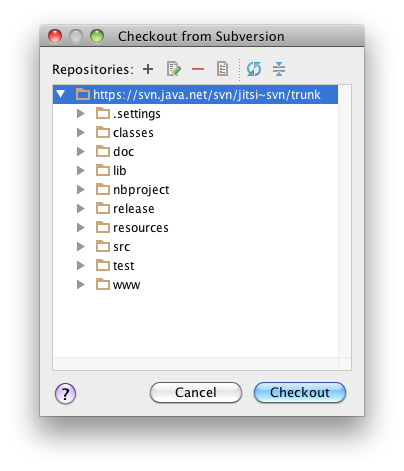
At the time of writing this howto the repository is https://github.com/jitsi/jitsi.git but check https://jitsi.org/Development/VersionControl to see the most recent one.
Click “Clone” to proceed. When the process completes, Idea will ask you whether to open the project that you just checked out. Click “Yes”.
If you are running Idea for the first time or haven’t yet configured a default Java SDK, now’s a good time to do it. Go to File > Other Settings > Default Project Structure > Platform Settings > SDKs.
If you have any Java SDK installed on the machine it will probably be detected and displayed there, otherwise just add it through the plus (+) button. Now go to Project Settings > Project and in the drop down menu on the right select the Java SDK you just added as the default for any new projects.
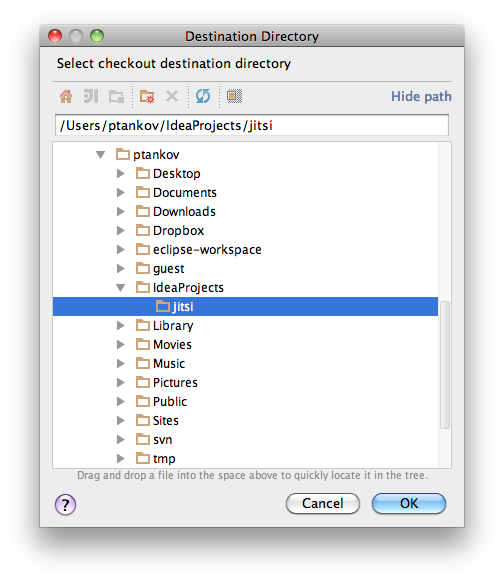
Next go to File > Project Structure and do the same from the drop down menu on the right.
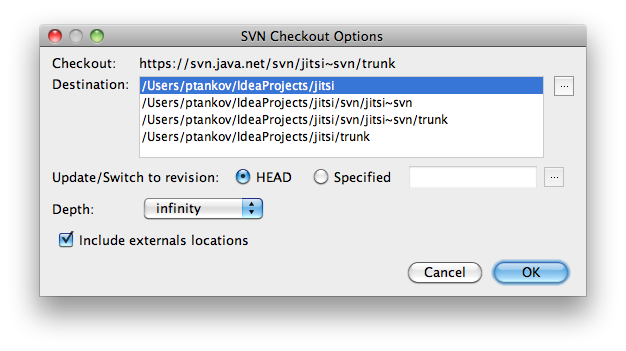
That’s it! You have the Jitsi project cloned from GitHub and ready to work on from within IntelliJ Idea.
Run Ant through IntelliJ Idea
Idea has an integrated Ant plug-in, which allows you to run all Ant targets within the IDE. You could use the Ant view from View > Tool Windows > Ant Build. The build.xml file of the project should automatically get populated there, but if it doesn’t, add it through the plus (+) button. The Ant targets are shown, letting you execute them with a doubleclick.
In order to compile the project you need to run the rebuild target. If you see an error message like this:
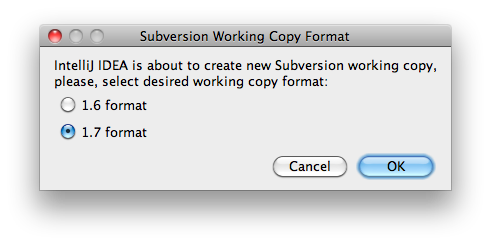
then you haven’t configured the proper Java SDK for the project (see above).
In order to compile the project you need to run the rebuild target. You may get some errors that some nonexistent folders cannot be deleted, but just ignore them.
In order to run the project you need the run target.
When building the first time or after calling clean the target -deploy-os-specific-bundles has to be called to deploy all bundles, which are specific for your operating system. If no os-specific bundles have been deployed, Jitsi may not start, or certain features (e.g. the System-Tray Icon on MS-Windows) will not be available.
Configure Run and Debug through IntelliJ Idea
There is nothing to configure here, because the jitsi.iml and jitsi.ipr files are pre-configured and in the repository, so you get them ready when you clone. Just go to Build > Rebuild Project to rebuild the project.
